Of all the tasks on your moving checklist, packing clothes often feels like it should be the easiest. In reality, it’s a job that can quickly spiral into chaos. The secret isn’t just about folding things neatly—it’s about having a solid game plan before the first box even opens.
A smart approach here is a simple, two-part strategy: declutter ruthlessly first, then sort everything strategically. This groundwork saves you from moving clothes you don’t even wear anymore and makes sure your essential outfits are easy to find on arrival. Get this right, and both packing and unpacking become a breeze.
Your Pre-Packing Game Plan for Clothes
A successful move is often won before the first roll of tape is used. The initial time you spend on your wardrobe sets the tone for the entire packing process. If you skip this part, you’ll end up moving items you no longer want and facing a mountain of disorganised laundry in your new home.
Declutter with Purpose
The single most effective thing you can do is have a proper clear-out. A house move is the perfect excuse to reassess what’s actually in your wardrobe and get rid of the excess weight—both literally and figuratively.
Start by making three distinct piles for every item of clothing you own:
- Keep: These are the items you love, wear often, and genuinely want in your new life.
- Donate/Sell: Clothes that are in good condition but no longer fit your style, size, or needs.
- Discard: Anything that’s worn out, stained, or damaged beyond repair.
Feeling overwhelmed? A good rule of thumb is to ask yourself: "Have I worn this in the last year?" If the answer is no, it’s a strong candidate for the donate pile. For a more structured approach, our guide on how to declutter before moving breaks it down into manageable steps.
Sort and Organise Before You Pack
Once you’ve whittled it down to your 'keep' pile, the next job is to sort it logically. Don't just chuck everything into the nearest box. A little organisation now will save you a massive headache later.
A good system is to sort by season and by family member. Packing all your winter jumpers together is a smart move if you're moving in July, as you won’t need to dig them out straight away.
Pro Tip: Always pack an "Open First" box for each person in the house. This box is a lifesaver. It should contain a couple of days' worth of outfits, pyjamas, underwear, and basic toiletries. No more frantic searching for a clean pair of socks on your first night.
Gather the Right Packing Supplies
Having the right materials on hand makes a world of difference. You don’t need to buy one of everything, but a few key items will protect your clothes and save you a surprising amount of space.
For a quick overview, here's a cheat sheet to help you decide what's worth getting.
Your Packing Supplies Cheat Sheet
This table offers a quick comparison of essential materials, helping you decide what you truly need for your clothes.
| Packing Material | Ideal for These Garments | Key Benefit | Potential Drawback |
|---|---|---|---|
| Wardrobe Boxes | Suits, dresses, formal shirts, long coats | Clothes stay on hangers, minimising wrinkles. | Bulky and can be expensive. |
| Vacuum-Sealed Bags | Jumpers, duvets, pillows, bulky ski wear | Reduces volume by up to 75%, saving huge amounts of space. | Can cause deep creases if left packed for too long. |
| Standard Cardboard Boxes | T-shirts, jeans, underwear, folded items | Inexpensive and readily available. | Offers minimal protection against moisture or crushing. |
| Acid-Free Tissue Paper | Silk, lace, leather, delicate or vintage items | Prevents colour transfer and protects from snags. | Can be time-consuming to use for every item. |
A small investment here pays off. For instance, those vacuum bags are a genuine game-changer for bulky items like duvets and coats. When you consider that hundreds of thousands of UK households move each year, maximising every inch of van space becomes critical.
Finally, a roll of acid-free tissue paper is brilliant for wrapping delicate fabrics like silk or embellished tops. It’s a small detail, but this thoughtful prep work is what sets the stage for a smooth, organised move.
Choosing The Right Packing Method
Once you've sorted and decluttered your wardrobe, it's time to get packing. But what’s the best way to do it? Honestly, there’s no single right answer. The real secret, something we've learned after countless moves, is to match your packing technique to the type of clothing. This is how you save space, prevent damage, and make unpacking on the other side feel a whole lot less chaotic.
For your everyday stuff—T-shirts, jumpers, jeans—you've got two main choices: folding or rolling. While neat folding is the classic approach, many professional movers (us included) are big fans of rolling. When you roll clothes tightly, almost like a sleeping bag, you can seriously cut down the space they hog in a box. It also tends to leave fewer harsh creases than sharp, rectangular folds do.
This image shows exactly where you should be starting: organising everything before you even think about a box.
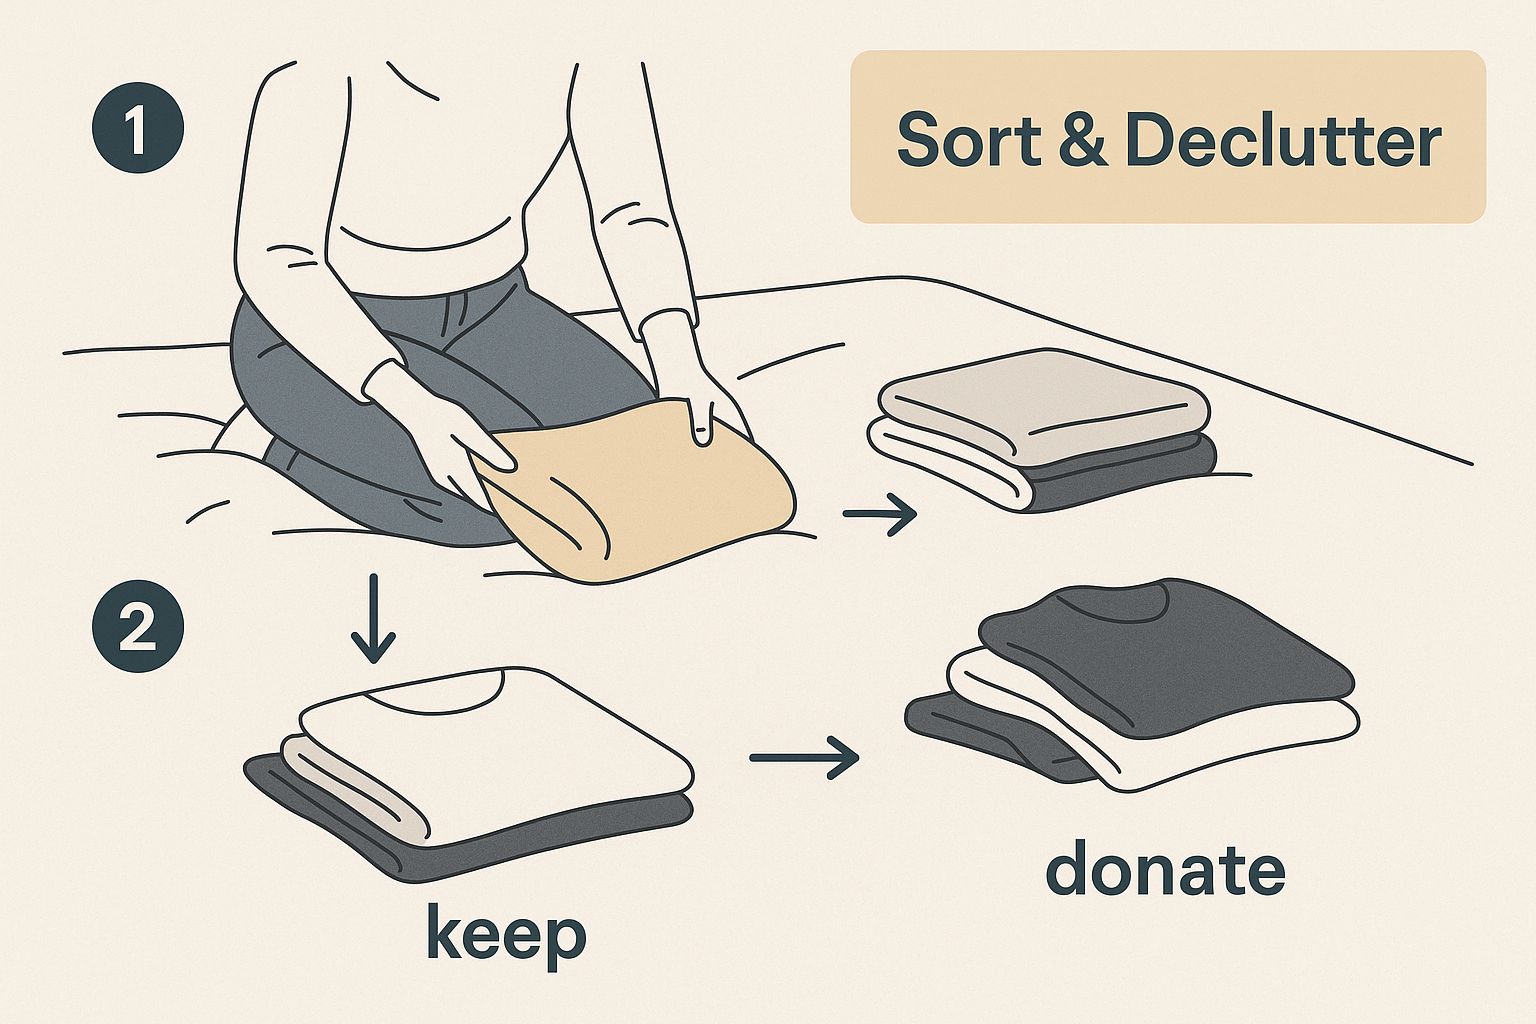
Trust me, starting with a clear sorting system makes the rest of the job so much quicker and smoother.
When to Use Wardrobe Boxes
Wardrobe boxes are your best friend for anything you'd absolutely hate to iron the moment you arrive. Think suits, blazers, silk blouses, or that formal dress you've got tucked away. They're basically portable wardrobes—tall, sturdy boxes with a hanging rail inside. You just lift your clothes straight out of your closet, hangers and all, and hang them inside the box.
Their biggest advantage is crease prevention. Your clothes hang freely during the move, so they arrive at your new home ready to be transferred straight into the new wardrobe. No fuss.
- Best for: Structured jackets, suits, long coats, and formal wear.
- Pro Tip: Whatever you do, don't cram them full. Leave a bit of breathing room between the hangers. This stops things from getting crushed and allows some air to circulate.
Yes, they're a bit bulkier and cost more than standard boxes, but the time and hassle you save on steaming and ironing can be a real lifesaver, especially if you need to look smart for work the day after you move.
The Power of Vacuum-Sealed Bags
For anything bulky but not particularly delicate, vacuum-sealed bags are a total game-changer. They are perfect for all those items that take up a ridiculous amount of space but weigh next to nothing.
We're talking about your winter puffa jackets, ski gear, duvets, and spare pillows. You just pop them in the bag, hook up a vacuum cleaner, and suck all the air out. It's genuinely surprising how much they shrink—you can reduce their volume by as much as 75%. That's a massive space-saver in the moving van.
A word of caution, though: the intense compression can lead to some pretty stubborn wrinkles. This method is best reserved for out-of-season items you won't need to unpack right away, giving them time to air out and get their shape back.
Mastering Folding and Rolling
Now, for the vast majority of your clothes—your T-shirts, leggings, jeans, and casual tops—the most practical approach is a smart mix of folding and rolling into standard cardboard boxes.
The Rolling Method:
Lay the garment flat, fold in any sleeves, and then roll it up tightly from the bottom. This works wonders for soft, flexible fabrics and is a fantastic way to pack a box densely.
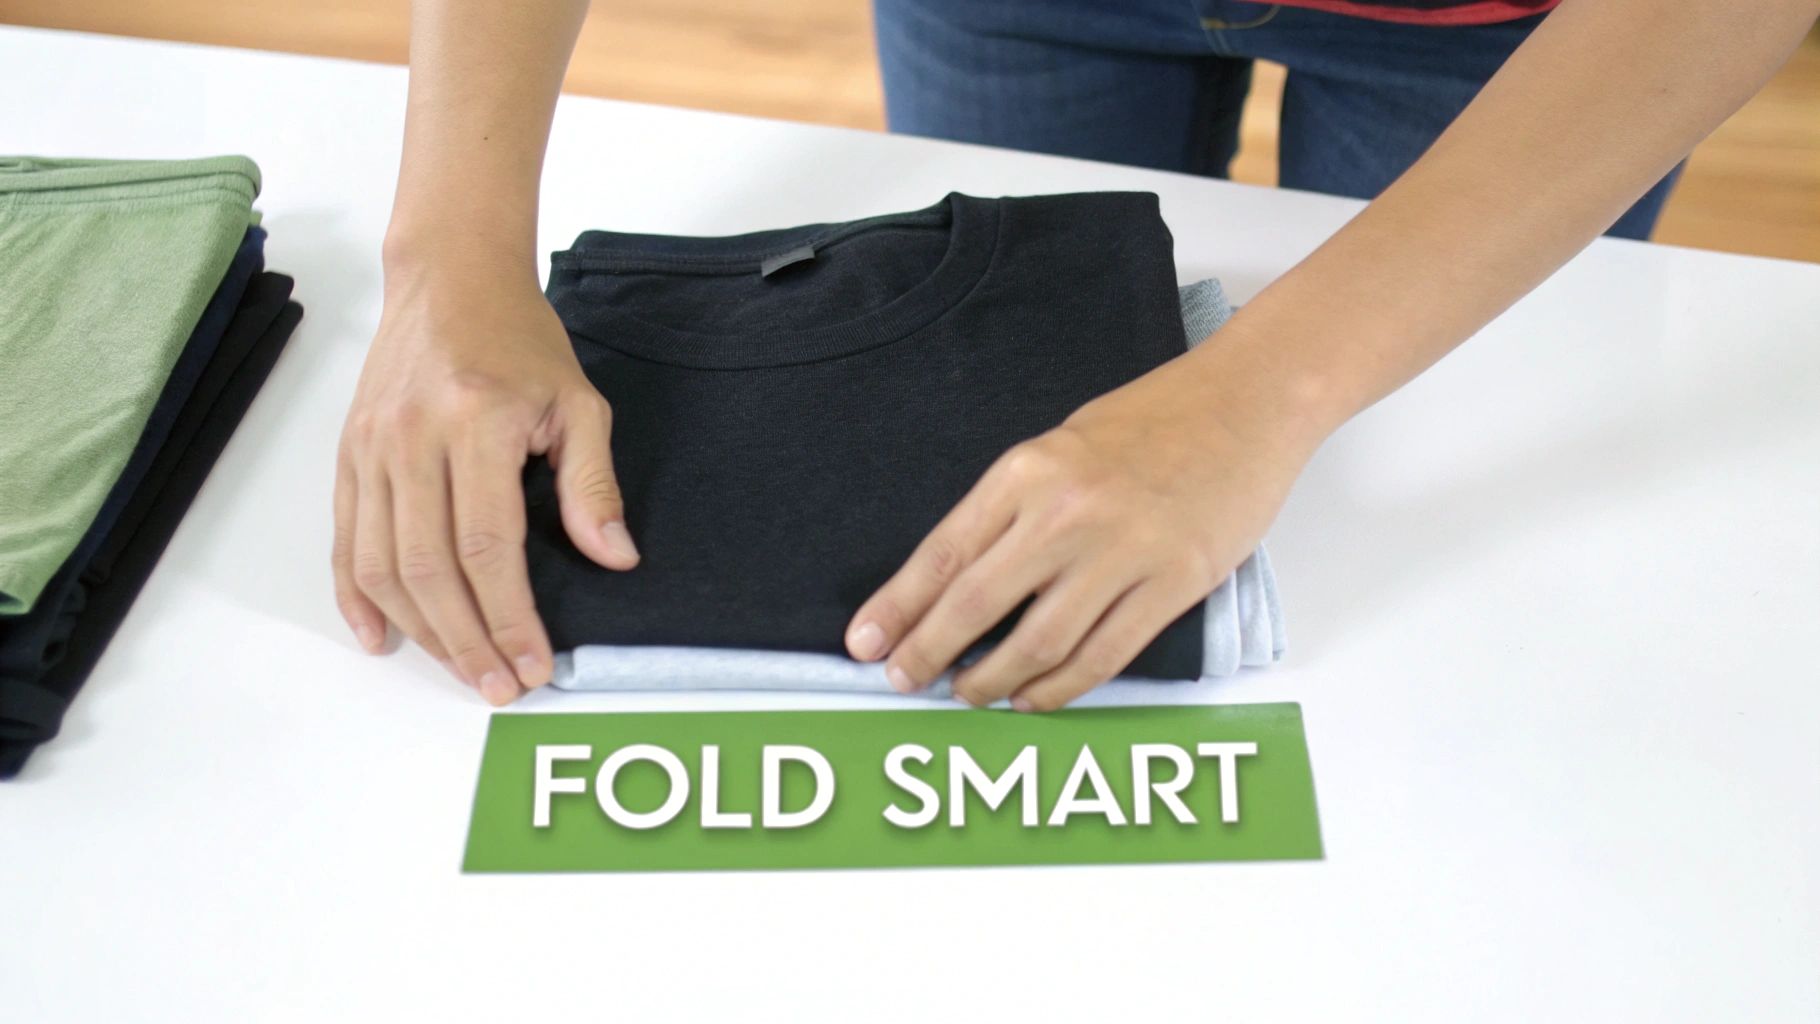
The Folding Method:
For stiffer materials like denim or corduroy, a traditional flat fold often works better to maintain their shape. The trick here is to stack the folded items vertically in the box, like you're filing documents. This lets you see everything at a glance, so you don't have to dig through layers to find that one specific pair of jeans.
By using these different techniques for different items, you'll not only keep your clothes in great condition but also squeeze the most out of every box. If you want an even deeper dive into the process, feel free to explore our complete guide on the best way to pack clothes for moving. Getting the strategy right from the start truly makes all the difference.
Packing Your Hanging Clothes Without the Drama
Let's be honest, staring into a wardrobe packed with hanging clothes can feel like a huge job. But it doesn't have to be a nightmare. With a couple of smart techniques, you can get your clothes from your old wardrobe to your new one with surprisingly little fuss—and, crucially, without turning everything into a wrinkled mess.
It all comes down to choosing the right method for your clothes and your budget.
The absolute best way to do this, especially for things you don’t want creased, is with a wardrobe box. These are basically tall, strong cardboard boxes with a hanging rail built-in. You just lift your clothes straight out of the wardrobe, hangers and all, and hook them inside. If your top priority is having everything ready to wear the moment you unpack, this is the way to go.
Getting the Most Out of Wardrobe Boxes
Think of a wardrobe box as a mini, temporary version of your actual wardrobe. A little bit of prep goes a long way here. Group similar items together before you start—put all your shirts in one box, dresses in another. It sounds simple, but you'll thank yourself when you’re unpacking at the other end.
Whatever you do, don't cram them full. Squeezing too many hangers onto the rail will just crush the fabrics and cause wrinkles, which defeats the whole point. You want to leave a little breathing room between hangers so your clothes can hang freely.
A great tip is to pop a few folded jumpers or towels in the bottom of the box. They act as a soft cushion and stop things from sliding around.
A common mistake people make is only putting clothes in wardrobe boxes. The base is perfect for light, bulky things like pillows or cushions. It helps make the box more stable and uses up that dead space.
Timing is everything with moving. Since Fridays are the most popular day to move house in the UK, having everything ready ahead of time is a game-changer. Professional movers always advise having wardrobe boxes packed and sealed before the chaos of moving day begins. You can find more pro advice like this in these essential moving house packing tips.
The Quick and Cheap Bin Bag Method
If you’re watching the pennies or just need a faster solution, the bin bag trick is a classic for a reason. It’s incredibly fast, costs next to nothing, and keeps your clothes neatly bundled on their hangers.
Here’s how you do it:
- Grab a small bunch of clothes—maybe 5 to 10 items—while they're still on the rail.
- Get a large, clean bin bag and pull it up from the bottom, completely covering the clothes but leaving the hanger hooks sticking out the top.
- Tie the drawstring tight (or just tie a knot) around the neck of the hangers.
- For easy carrying, use a rubber band or a zip tie to hold all the hooks together.
This simple trick keeps your clothes protected from dust and dirt during the move. When you arrive, just hang the whole bundle straight into the new wardrobe and snip the bag off. Done. It's particularly brilliant for tougher items like shirts, jeans, and jackets that aren't too prone to creasing.
Protecting Delicate and High-Value Clothing
When you get to your most cherished and expensive garments, simply tossing them in a standard cardboard box is out of the question. We're talking about the items that mean something—silk blouses, vintage pieces, or even a wedding dress. These pieces need a much more thoughtful approach to save them from irreversible damage like snags, discolouration, or deep-set creases.
Your absolute best friend for this job is acid-free tissue paper. It’s a non-negotiable. Standard tissue paper might look harmless, but it contains acids that can cause fabrics to yellow over time. That’s a nightmare scenario for a pristine wedding gown or a treasured family heirloom. Acid-free paper creates a safe, pH-neutral barrier, protecting delicate fibres during the move and even in long-term storage.
The technique is simple but effective: lay the garment flat and place a sheet of tissue paper between each fold. If you’re packing something with beads or sequins, wrap the entire item in a layer of paper first. This one small step is your best insurance policy against embellishments catching on other clothes or colours bleeding.
Safeguarding Specific Materials
Not all delicate fabrics are created equal, and they each need slightly different handling to arrive in perfect shape. A bit of extra care right now prevents a lot of heartache later.
- Lace and Cashmere: These materials are notorious for stretching and snagging. Don’t even think about hanging them in wardrobe boxes; their own weight can cause them to distort over a long journey. Instead, gently fold them with tissue paper and give them their own smaller, well-cushioned box. Give them room to breathe—don’t pack them too tightly.
- Leather and Suede: These should never go into plastic. Plastic traps moisture, which is a recipe for mould and mildew. A much better approach is to wrap them loosely in a breathable fabric, like an old cotton sheet, and pack them in a sturdy box where they can lie flat without being crushed.
Your most treasured items deserve their own space. We always recommend designating a specific, clearly labelled box for 'Delicates'. Make sure it's loaded onto the van last and taken off first to minimise any risk of it being squashed under heavier items.
Handling Designer Bags and Shoes
Your high-value accessories, like designer handbags and shoes, also need special attention to keep their structure and finish intact.
For handbags, the goal is to help them hold their shape. Stuff them with clean, acid-free paper. Whatever you do, don't use newspaper—the ink can transfer and permanently stain the lining. Once stuffed, pop each bag into its original dust bag and position it upright in a box, ensuring it has enough space around it to avoid being squashed.
Shoes follow a similar principle. Stuff them with paper to stop them from creasing, then wrap each shoe individually in paper or place them in separate shoe bags. This prevents scuffs and scratches, which is especially important for patent leather or embellished footwear. Taking these extra few minutes guarantees your most prized possessions will look just as good in your new home as they did in your old one.
Smart Labelling for Effortless Unpacking
This is the part your future self will thank you for. A smart labelling system is the secret to a calm, organised unpacking process, turning what could be chaos into a simple, logical task. It’s the difference between frantically digging through ten identical boxes for your pyjamas and knowing exactly where to find them.
A good system goes way beyond just scribbling 'Clothes' on the side of a box with a marker. The best way to pack clothes for moving means creating a detailed, easy-to-read system that tells you everything you need at a glance.
Create Your Labelling Key
To make this work, you need to get specific. A truly useful label gives you three key pieces of information. This simple formula ensures anyone helping you on the day can place boxes in the right room without constantly asking you for directions.
Here's what every label should have:
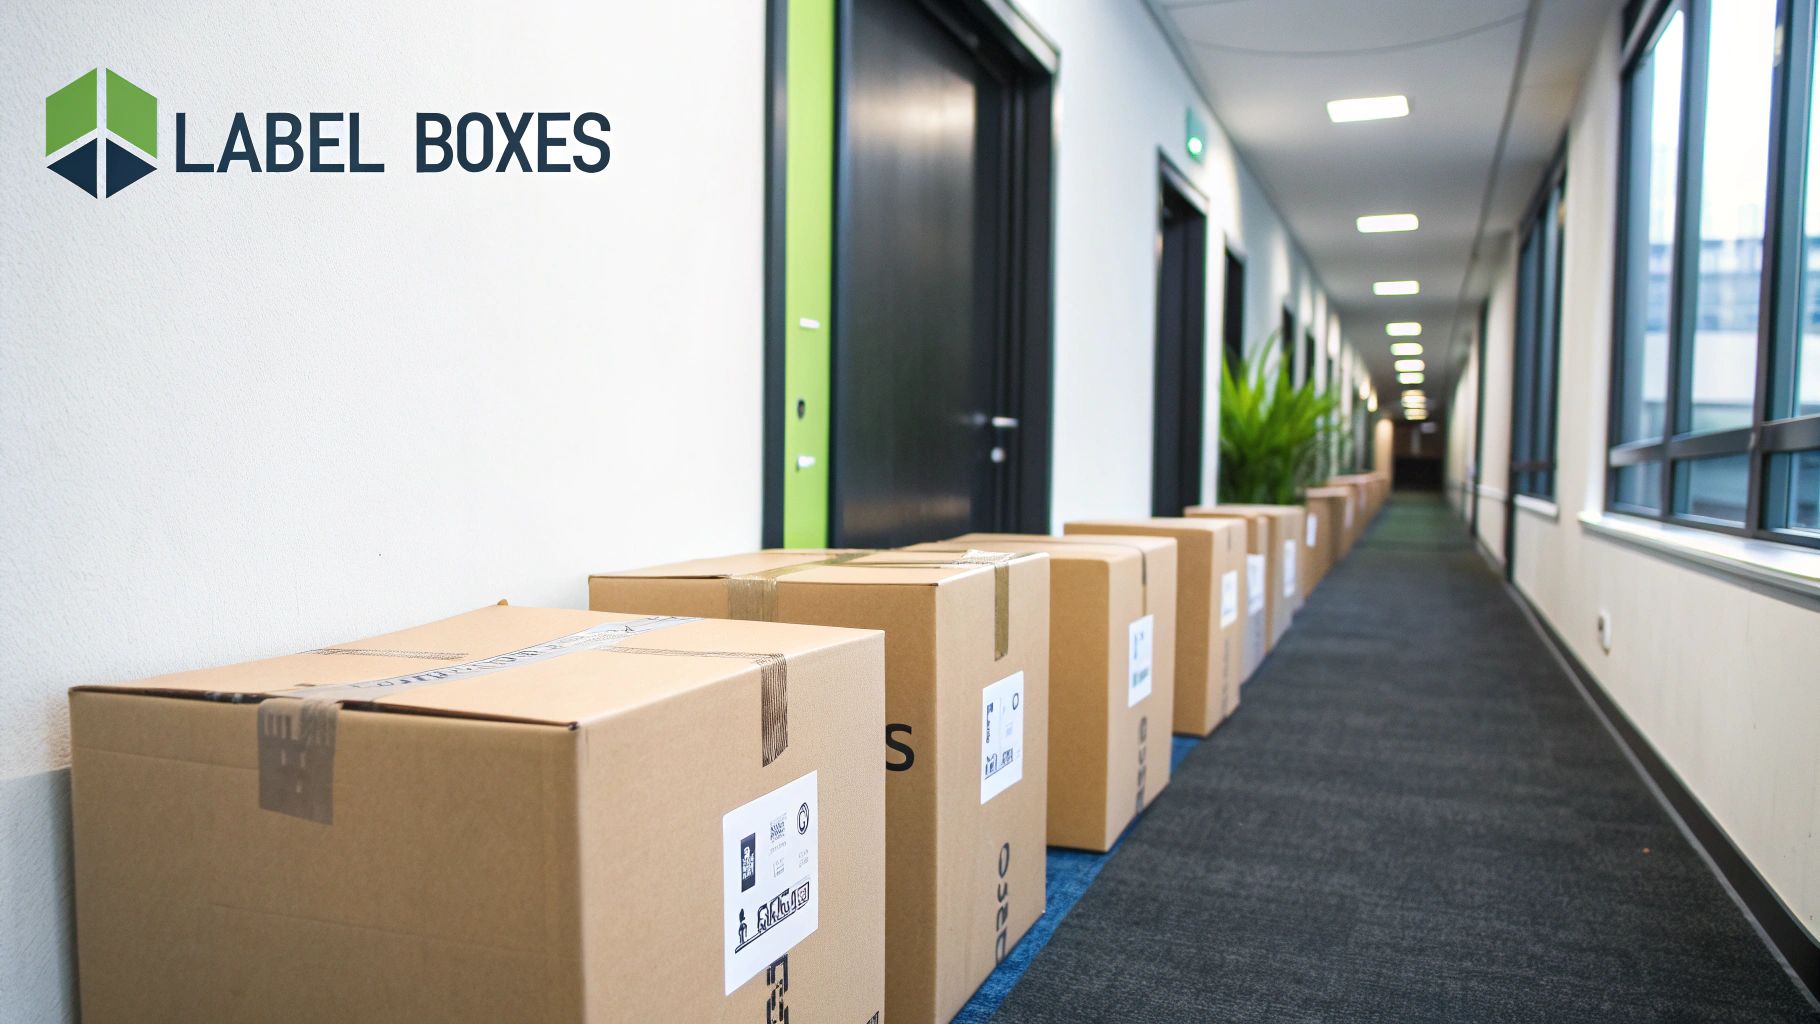
- Destination Room: Where does the box belong? (e.g., Main Bedroom, Leo's Room)
- Owner: Whose clothes are actually inside? (e.g., Sarah, Dad)
- Contents/Season: What exactly is in there? (e.g., Winter Jumpers, Summer T-Shirts, Formal Wear)
So, a finished label might look like this: "Main Bedroom – Sarah – Winter Jumpers & Scarves." Instantly, you know its owner, its final destination, and that it definitely doesn't need opening if you’re moving in June. You can even use coloured sticky dots or tape—one colour per room—to make spotting boxes even faster on moving day.
Your ‘Open First’ box is the most important one you’ll pack. Label it boldly on all sides with "OPEN FIRST – ESSENTIALS" and keep it separate from the main pile. This is your survival kit for the first 24 hours.
The All-Important ‘Open First’ Box
We’ve mentioned it before, but its importance can’t be overstated. Each person in your household should have their own dedicated ‘Open First’ box packed with everything they'll need for the first 48 hours in the new place.
Think of it as an overnight bag, but in a box. It completely eliminates that panicked rummaging for clean socks or a toothbrush amidst a sea of cardboard. This one trick makes the first night feel settled and comfortable, which is crucial for a stress-free start. For more practical advice, check out our other essential moving day tips.
For clothes, this box should contain:
- Two or three changes of comfortable outfits
- Pyjamas and underwear
- Basic toiletries and any required medication
- A phone charger and a book or tablet for a bit of downtime
By organising and labelling with this level of detail, you’re not just packing boxes; you’re setting yourself up for a genuinely effortless start in your new home.
Common Questions About Packing Clothes
Even with the best plan, little questions always pop up when you're staring at a mountain of clothes. It’s one of the most common things clients ask us about, so we’ve gathered the most frequent queries right here. Think of this as your go-to guide for those final packing decisions.
How Far in Advance Should I Start Packing My Clothes?
The golden rule we always share is to begin with your out-of-season items three to four weeks before moving day. If you’re moving in the middle of summer, that means all your bulky winter coats, chunky jumpers, and ski gear can be boxed up and out of the way. It’s a massive win for decluttering and makes the whole task feel less daunting.
By tackling it this way, you break the job into manageable chunks. In the final week, your focus can be on the clothes you actually wear, leaving out just enough for your ‘Open First’ box. It’s the best way to avoid that last-minute panic.
Is It Better to Fold or Roll Clothes When Packing?
Honestly, there’s no single right answer here. The best approach is a mix of both, depending on what you’re packing. My team and I have seen it all, and a hybrid method always works best.
- Roll These: Rolling is brilliant for your soft, casual clothes. I’m talking about t-shirts, sportswear, pyjamas, and anything made of jersey or cotton. It genuinely saves a surprising amount of space in the box and, more importantly, helps stop those harsh, set-in creases you get from sharp folds.
- Fold These: For more structured items, a neat, flat fold is the way to go. Starched work shirts, blazers, or stiff denim simply hold their shape better when folded properly. A pro tip is to stack them vertically in the box, like files in a filing cabinet. It lets you see everything at a glance when you unpack.
Of course, for anything you need to keep absolutely pristine, nothing beats a wardrobe box. Suits, silk dresses, or anything you want to hang straight up in your new home should go in one. They are the undisputed champion of wrinkle-free moving.
Can I Leave Clothes Inside My Dresser for the Move?
We strongly advise against this, and you’ll find most professional movers feel the same way. It might seem like a clever time-saver, but leaving drawers full makes furniture incredibly heavy and unstable. This massively increases the risk of damage—not just to the dresser, but to your walls, floors, and door frames. It’s also a safety risk for the moving crew.
It is always, always safer to empty the contents into clearly labelled boxes. If you feel you absolutely must leave something in a drawer, it should be limited to very lightweight things like socks or scarves, and you must get the green light from your moving company first. Many will simply refuse to move furniture that hasn't been completely emptied.
What Is the Best Way to Pack Shoes?
Shoes should always get their own boxes, packed separately from clothes to keep everything clean and fresh. Your two main goals here are to stop them from scuffing each other and to make sure they hold their shape.
First, stuff each shoe with clean socks or a ball of crumpled packing paper. This is the single most important step to prevent them from getting crushed flat in transit. If you’ve still got the original shoeboxes, now’s their time to shine!
No original boxes? No problem. Just wrap each shoe individually in paper to stop scuffs and scratches. Then, arrange them heel-to-toe in a sturdy, medium-sized box. Put the heavier pairs like boots at the bottom and your lighter shoes on top. This simple method ensures they arrive at your new home looking just as good as when they left.
Ready to make your move completely stress-free? Let the experts at Euro Move Direct handle the heavy lifting. We offer professional, reliable removal services tailored to your needs. Get your free quote today and take the first step towards an effortless relocation.